Preparing a home for virtual tours and 3D walkthroughs in Denver requires careful attention to presentation and technical setup. The goal is to create a space that photographs well and scans accurately so potential buyers can form a clear impression from remote viewings. The guidance that follows covers staging, lighting, decluttering, minor repairs, exterior presentation, technology considerations, timing, coordination with a real estate agent, and final checks. Each section offers practical steps and examples relevant to properties in Denver.
Lighting And Window Treatment
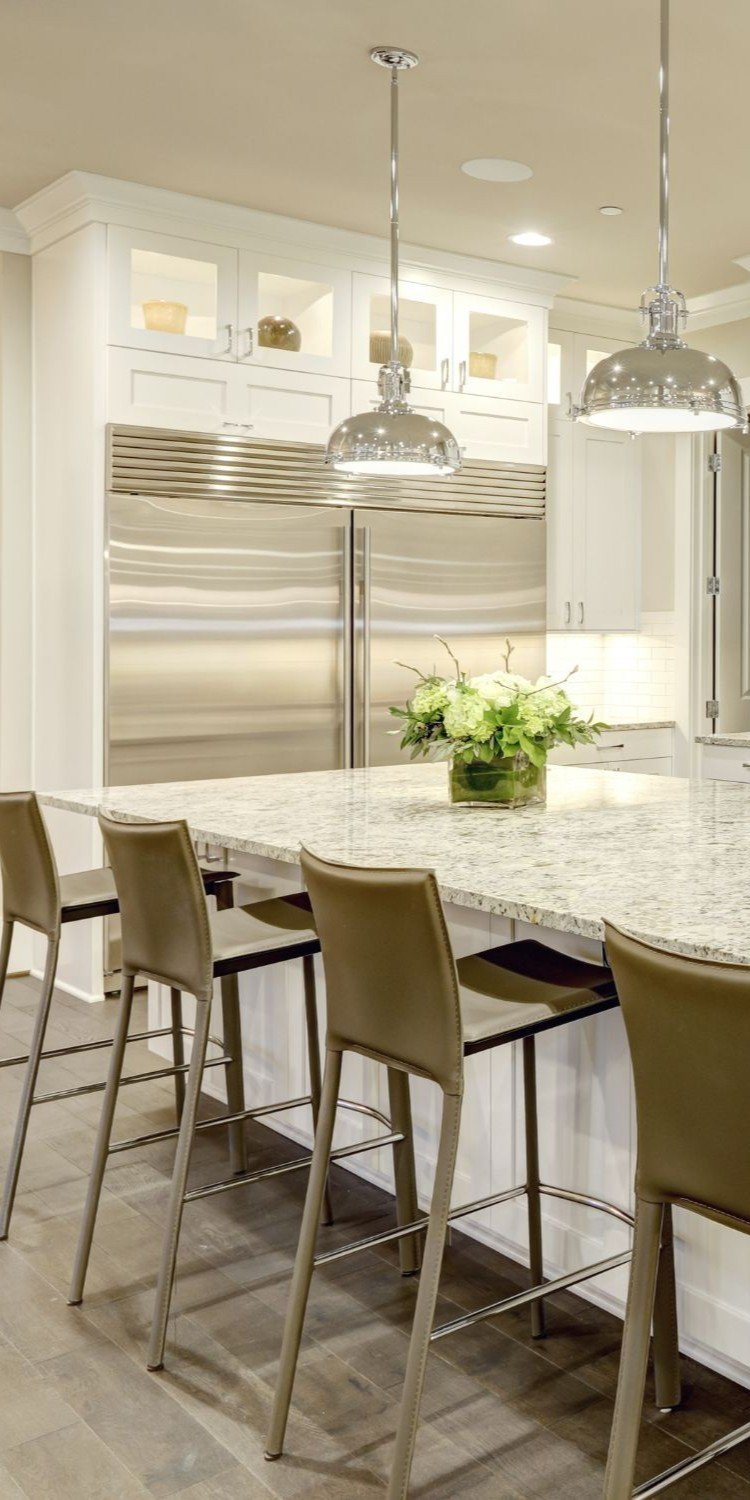
Natural light helps virtual tours feel open and welcoming. Open window coverings to let daylight into main living areas and close any heavy drapes in smaller rooms. Replace mismatched or outdated light bulbs with ones that produce consistent warm or cool tones. Consider removing sheer curtains that diffuse light excessively for camera scans. In Denver, south-facing rooms can be especially bright in the afternoon, so adjust blinds to minimize glare during virtual sessions.
Decluttering And Surface Preparation
Clear countertops and flat surfaces to make rooms read as organized and spacious. Store personal items out of sight and remove tabletop knickknacks that create visual clutter. Kitchen counters should be largely clear except for one or two tasteful items. In bedrooms, keep nightstands minimal and hide clothing and shoes. For scanning accuracy, ensure floors are free of loose items that might obstruct the camera’s path.
Depersonalizing And Neutral Styling
Remove family photos and highly personal artwork so viewers can imagine their own furnishings in the space. Replace bold artwork with neutral pieces that complement the room’s tones. Use a few well-placed accessories to suggest lifestyle without overwhelming the scene. Neutral bedding and simple decorative pillows provide a calm backdrop for bedroom walkthroughs.
Minor Repairs And Surface Touch Ups
Fix small issues that show up on camera, such as chipped paint, loose cabinet handles, and sticking doors. Touch up scuffed baseboards and repair visible grout lines. Replace cracked switch plates and adjust closet doors that do not close smoothly. Small repairs make a home appear well cared for and help the 3D scan produce cleaner geometry.
Furniture Arrangement For Flow And Scale
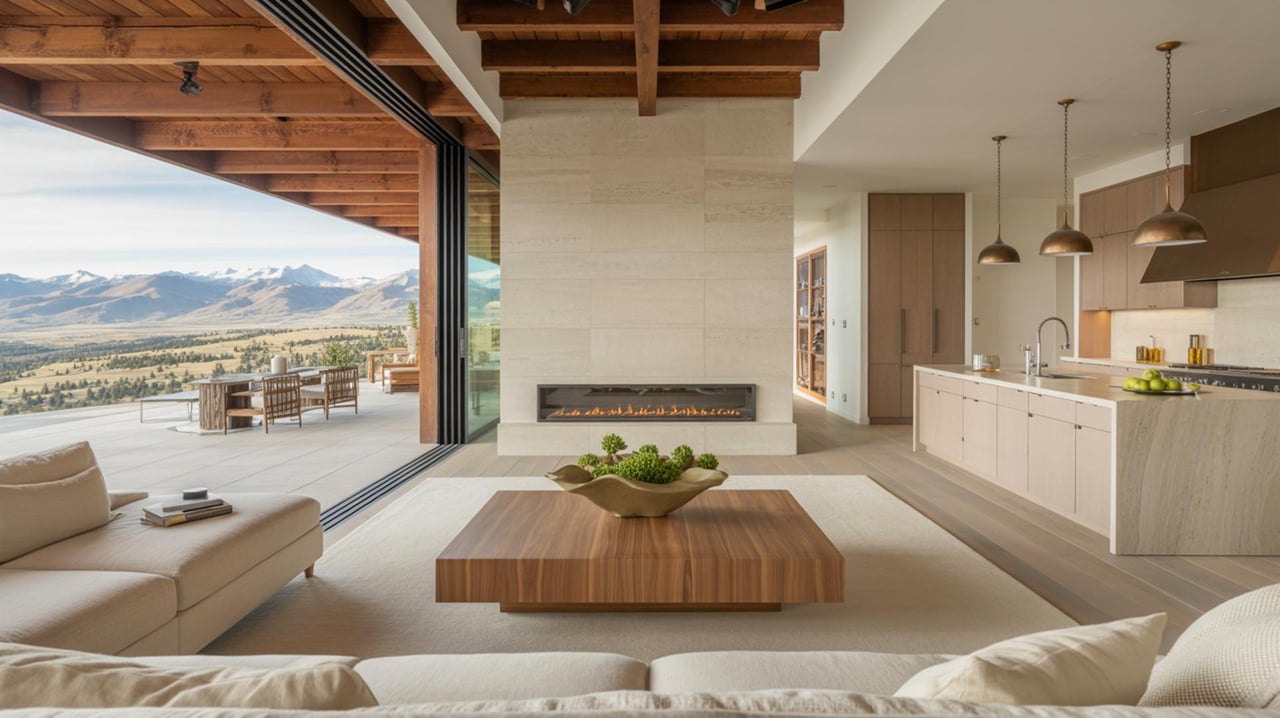
Arrange furniture to create clear pathways for camera movement and to emphasize room function. Pull furniture slightly away from walls to reveal baseboards and shadows that help depth perception. In smaller rooms, remove one piece of furniture to allow the camera to capture the entire space. Use rugs to define zones and align seating so sightlines flow toward focal points such as a fireplace or window.
Preparing Exterior And Curb Presentation
Ensure the exterior presents well for first impressions that start the virtual experience. Trim hedges, sweep entrances, and remove seasonal clutter from porches. Power washing siding and walkways can brighten the facade. If the property has a balcony or small patio, stage it with minimal furniture and an accent plant to suggest outdoor living potential.
Technical Setup For 3D Scanning
Confirm that the scanner or camera will have unobstructed access to each room and that Wi Fi is stable if live streaming is planned. Charge batteries and clear memory from devices before the appointment. For best results, create a walkthrough path that allows smooth movement through major rooms without sharp turns. Marking a rough route with removable tape can help capture consistent data during longer scans.
Scheduling And Timing For Best Visuals
Schedule virtual sessions during times of day when natural light complements interior lighting. Avoid late afternoon shifts that produce heavy shadows in Denver’s sun. Plan sessions when the neighborhood is quiet to limit external noise for any narrated tours. If the home faces a busy street, select a time when traffic levels are lower to reduce interruptions.
Coordinating With A Real Estate Agent And Photographer
Share preparedness details with the real estate agent and the photographer or scanning technician before the session. Provide information about access points, special features to highlight, and any rooms that require unique attention. Confirm arrival times and expected duration so the team can plan lighting setups and capture the property thoroughly.
Final Walkthrough And Quality Checks
Perform a final check that lights are on, surfaces are clean, and doors are closed. Walk through the intended camera path to ensure nothing has been overlooked and that furnishings sit as planned. Verify that mirrors and reflective surfaces are oriented to avoid showing equipment or staff. Confirm that exterior gates and storage areas are accessible for complete coverage.
Ready for Virtual Tours?
Preparing your home for virtual tours and 3D walkthroughs can make the difference between a quick sale and a long listing, and those finishing touches pay off on-screen as much as they do in person. Whether you're selling in null or beyond, a polished, well-lit presentation helps buyers connect emotionally and visualize themselves in the space. For personalized guidance and staging tips tailored to your property, reach out to Kathryn Tighe—she can help you showcase your home to its fullest and get it market-ready. Contact Kathryn today to schedule a consultation and make your virtual showing stand out.